BCX Package Tasks
Package Tasks are used to deploy software MSIs, Prism packages and custom installers, as well as being able to run custom commands across multiple stations on the network.
Not only does this simplify software installations, it also allows you to perform bulk management tasks with just a few clicks.
Contents
- 1 How to Deploy a Package to your Network
- 2 X64 Bit Package File
- 3 Advanced Options
- 4 Notes
- 5 Package Tasks
- 6 Custom Package Tasks
- 7 Central Packages Location
- 8 Package Types
- 9 Pending Package Tasks
- 10 Unexpected Exit Codes
- 11 Updating a Package File
- 12 Uninstalling deployed Package Tasks
- 13 Removing a Package Task
- 14 Importing and Exporting Package Tasks
- 15 Creating a Package Task with Prism Deploy
- 16 Troubleshooting Deployment of Package Tasks
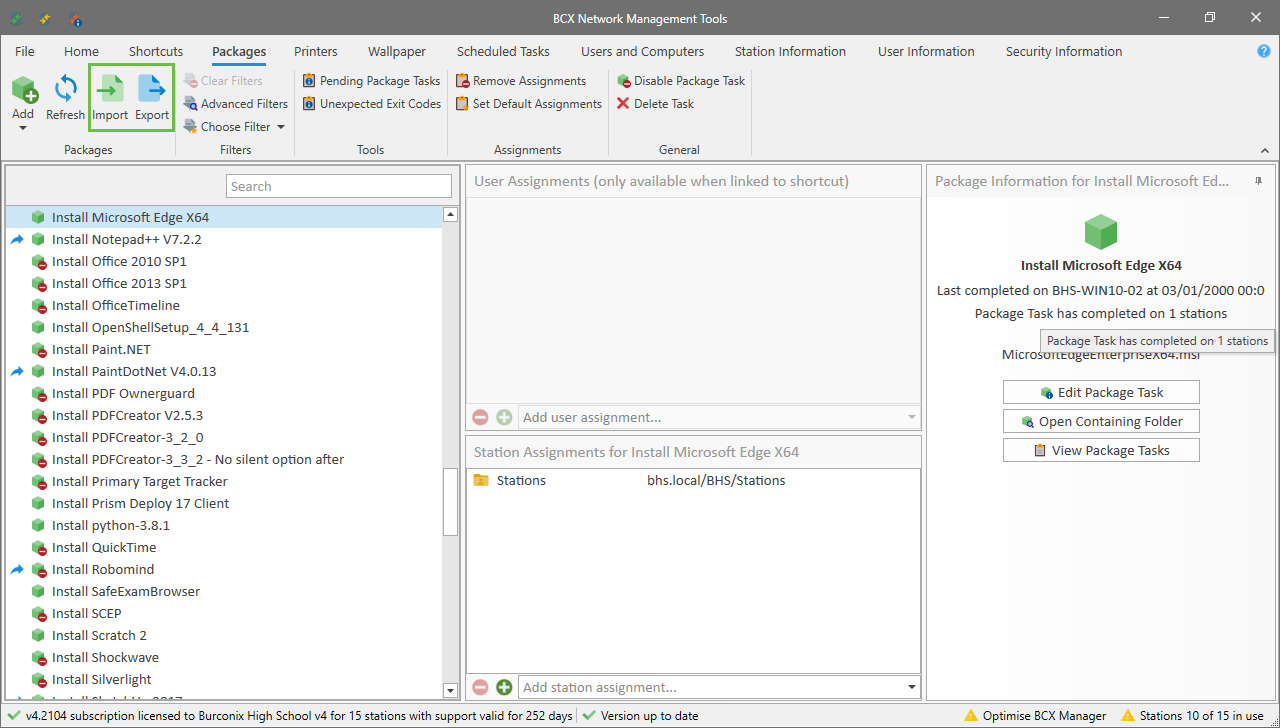
How to Deploy a Package to your Network
Before you start to deploy a Package please ensure you have copied the Package files to your Central Packages Location.
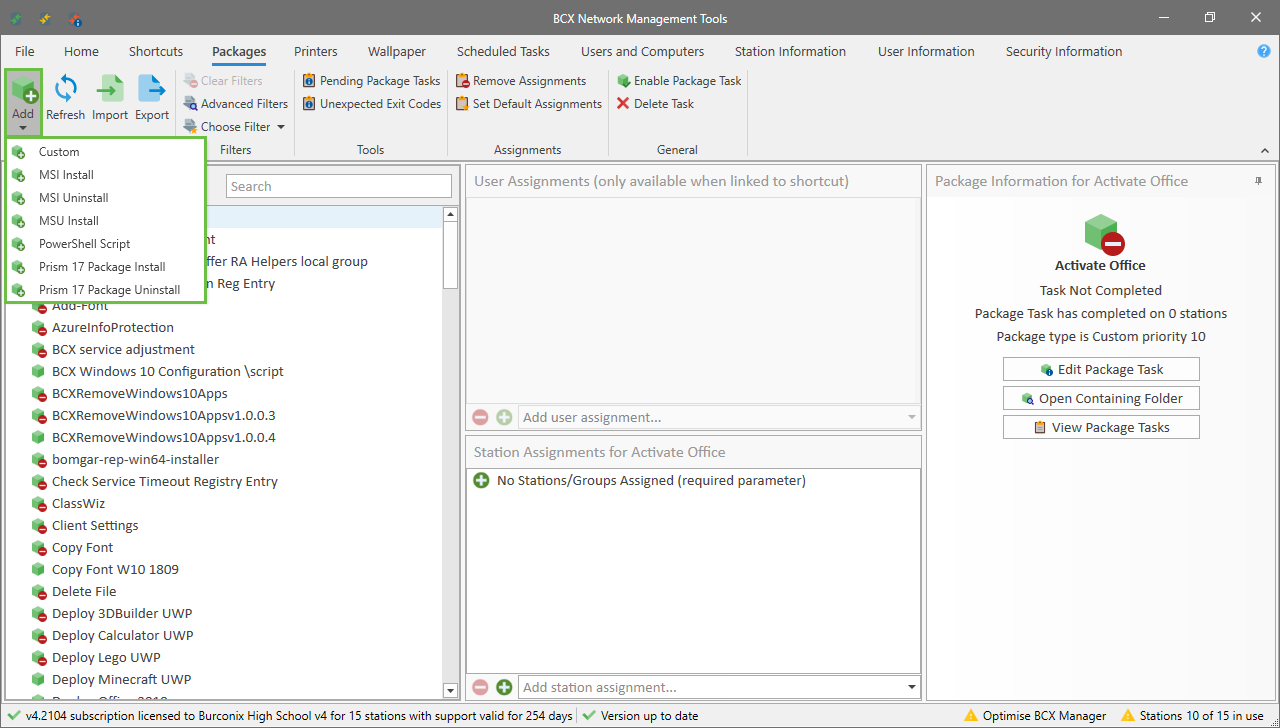
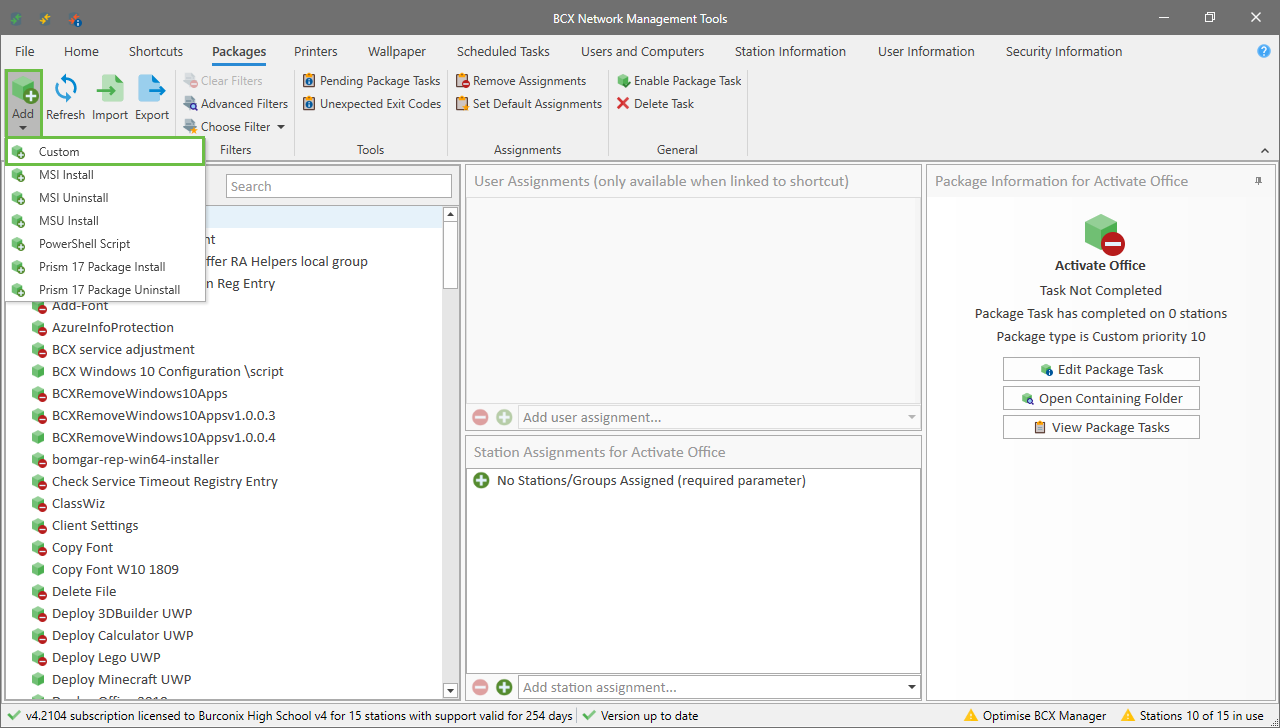
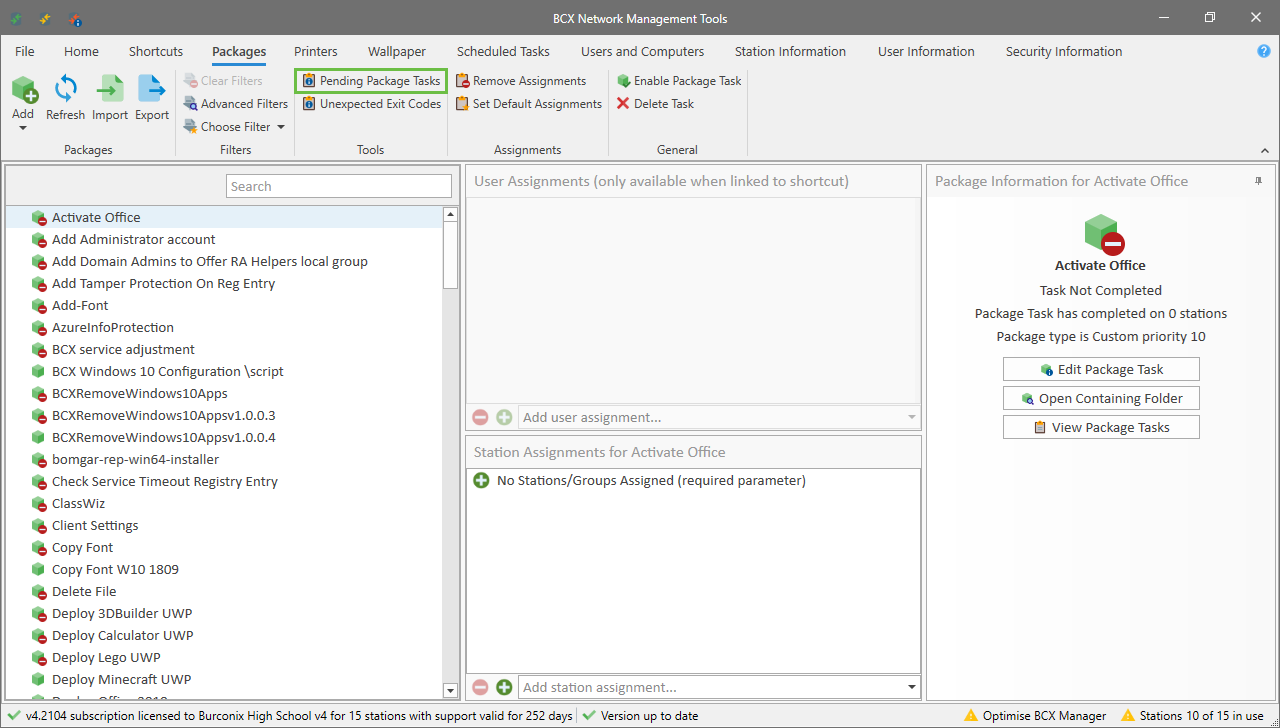
From the Packages Tab, click the Add Package Task menu, and select your required Package Type.
Alternatively you can drag your MSI file directly onto the Package Task List pane.
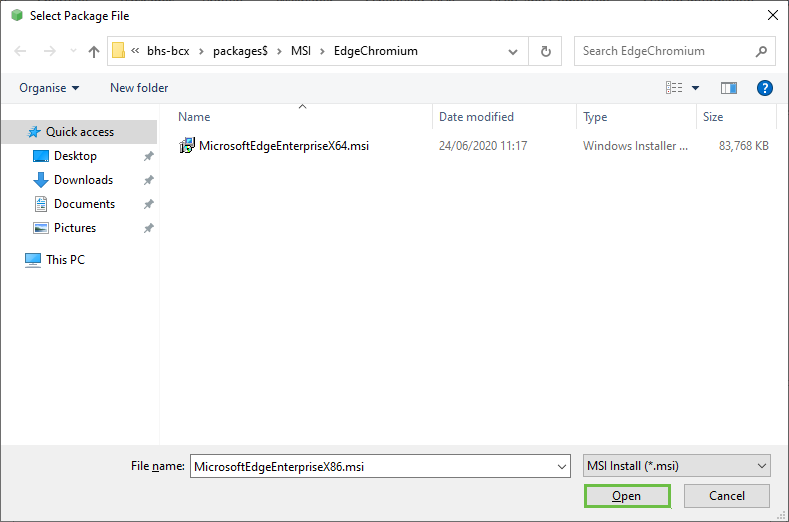
Now select the Package file you would like to deploy on your network and click Open
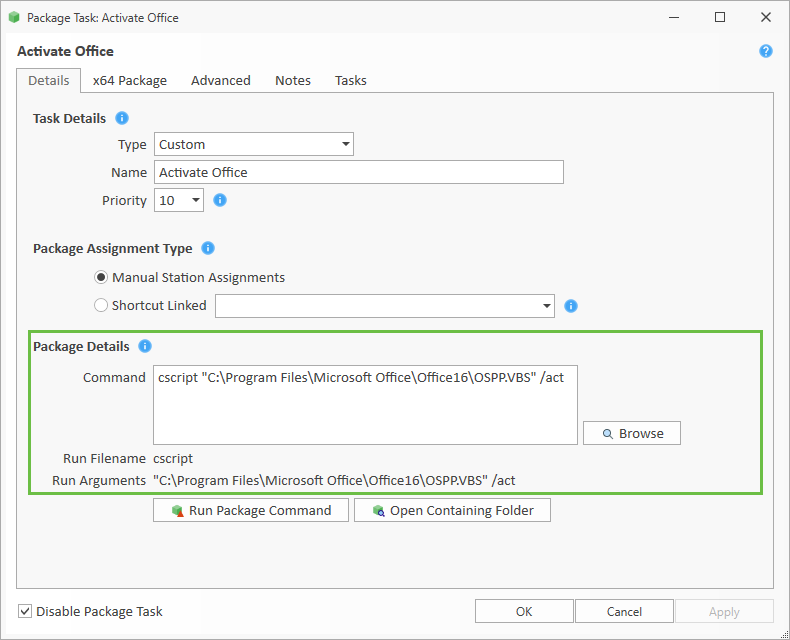
The Package properties will then open at the Details tab.
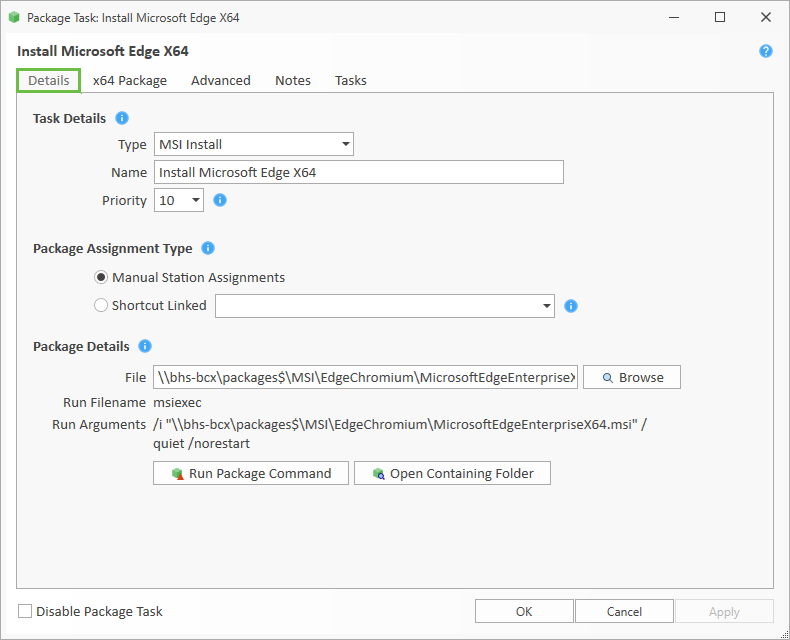
Package Name should be amended to something logical as required.
Priority can be used to control the order in which this Package Task runs in relation to other tasks. Tasks with Priority 10, will run before those with Priority 11.
Unless you have a specific reason to change it, we would recommend you leave this at the default value of 10.
An example of this, could be that you have a piece of software that must be installed, and then a separate update patch applied after the install has taken place.
Manual Station Assignments are used to specify the package deployment only. Once saved, ensure the Package Task you just added is selected in the left hand pane, then right click in the Station Assignments window, and then Add to choose your required Station Assignments.
Shortcut Linked is used to link the package to a shortcut. This means that where ever you assign the linked shortcut, the system will go away and make sure the package task has been run on those stations automatically. This saves you having to remember to assign both package tasks and shortcuts to stations independently. The shortcut drop down allows you to select the shortcut with which you want to link the package.
Package File Details displays the details for your package installer and any arguments allowing confirmation and editing if required.
Run Package Command will process the install command on the local station (Useful for testing and troubleshooting deployments).
Open Containing Folder opens the location of the installer in Windows Explorer.
Remember it is advisable to test your Package Task on one or two machines first before deploying to your whole network
X64 Bit Package File
Before you start to deploy a Package please ensure you have copied the Package files to your Central Packages Location.
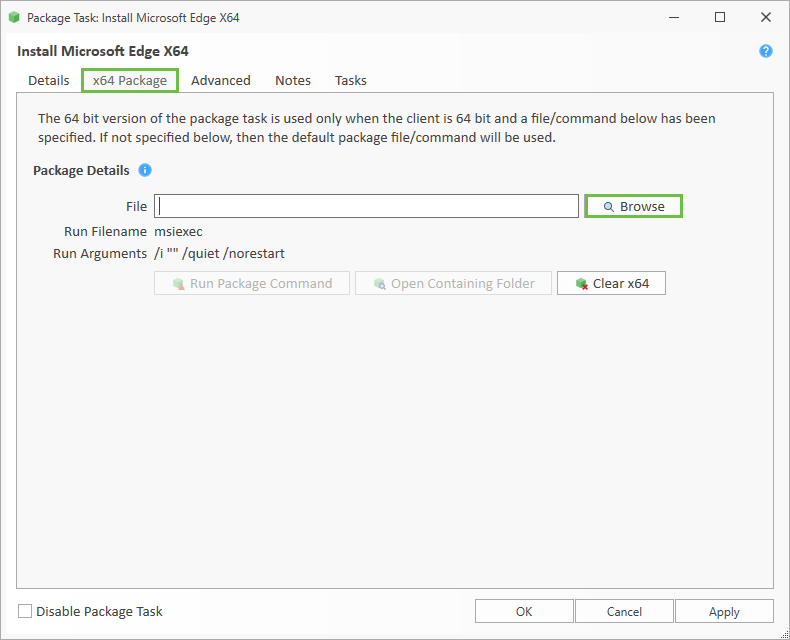
Whether you are adding or editing a package, you can add a 64bit package.
The deployment process will only apply the package if it has been specified, and the target workstation is running a 64bit Operating System.
When adding a 64bit package as an MSI, MSU or Prism Package, you can browse to the package using the browse button.
Adding 64bit packages to a custom package type, is the same process as adding the default package.
Type the command in manually, or use the browse button to find the executable.
If you do not specify a 64bit package, the default package or command will be installed or run.
Advanced Options
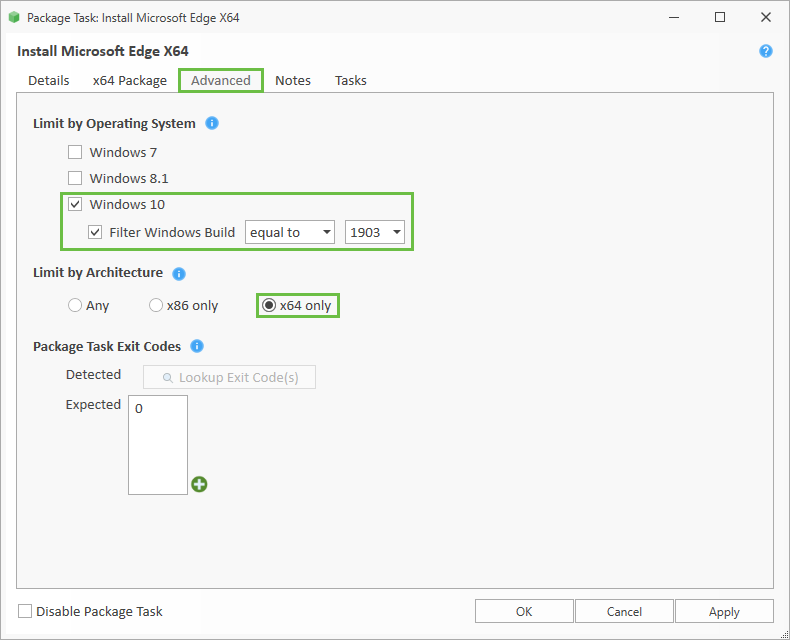
Limit by Operating System enable you to target a specific OS for deployment of a package, and for Windows 10 this further includes builds.
Limit by Architecture allows deployment to any, or either x86 or x64 architectures.
You can select restriction by both Operating System and Architecture if required.
For example, to restrict a package to 64bit versions of Windows 10 build 1903, you would select the radio button for x64 Only, and tick the boxes for Windows 10, and filter equal to 1903.
Package Tasks Exit Codes will display any non-standard exit codes relating to the task. There is a lookup function which will attempt to return the reason for the code.
If the package succeeds in installing, but still throws a non standard exit code, you can add it as an expected code on the task, and it won't be reported in the future.
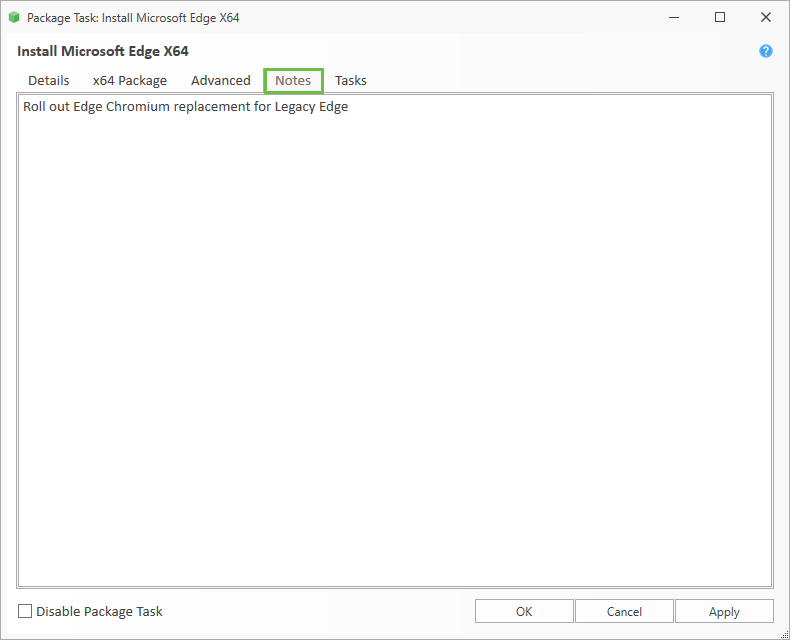
Notes
This is a free form text area for your comments on the Package Task
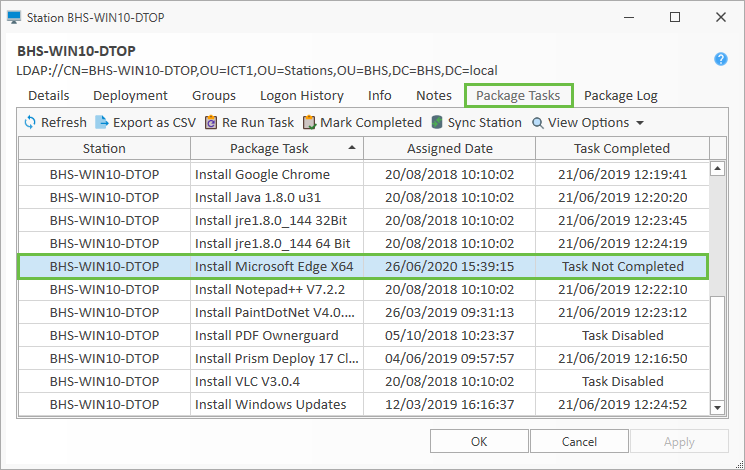
Package Tasks
This is a visual representation of the status of the actual deployment of the Package Task.
Stations become aware of their relevant package tasks when their BCXClient syncs with the BCX Server.
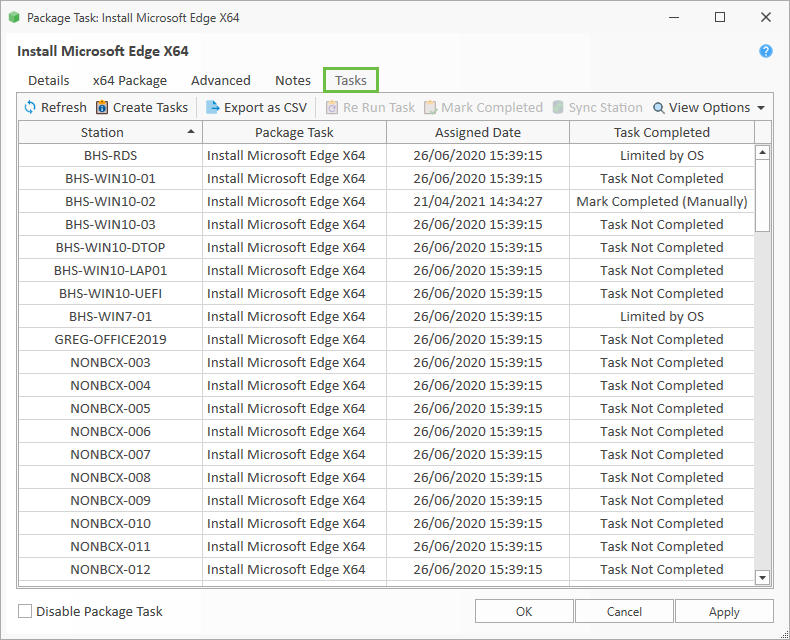
Refresh performs a refresh of the window contents.
Create Tasks allows you to populate the window immediately after creating the task, without waiting for stations to sync.
Export as CSV provides the option of creating a copy of the displayed information.
RE Run Task will mark a completed entry as not completed and prompt to sync station to run the task again.
Mark Completed changes from not completed, this is useful if you need to Re Run a task that has previously completed.
Sync Station forces the selected station(s) to sync with the BCX Server in order to process any Package Tasks.
View Options gives you the ability to show/hide application exit codes, and also show/hide tasks that are disabled or limited by OS.
Custom Package Tasks
Custom packages are used to deploy software that can not be packaged using Prism, or an MSI is not available. (Typically those with setup.exe installers)
Before you start to deploy a Package please ensure you have copied the Package files to your Central Packages Location.
From the Package Tasks Tab, click the Add Package Task menu, and select Custom.
The process is very similar to an msi package, but you provide the command and arguments manually
Enter the command in the Package Command box that you wish to run on workstation. You can use the browse button to make this easier.
Add your arguments on to the end of the command and double check them below the input window to confirm that it is formatted correctly.
Custom Tasks are very versatile in that you can run commands as well as installing packages as shown below:
Once you are happy with your command, you need to assign your Package Task to your stations.
Remember it is advisable to test your Package Task on one or two machines first before deploying to your whole network
Central Packages Location
Your central Packages Location can usually be found at \\yourappsservername\packages$
Alternatively you can double check this by looking at the file paths of exiting similar packages types, or using Edit Package Types under settings to view the Default Locations.
Package Types
- Custom - can be used to run scripts or special installs using a setup.exe /argument where the executable can be run silently.
- MSI Install - A standard Microsoft Installer File used to install a piece of software.
- MSI Uninstall - A command used to uninstall a deployed Microsoft Installer Package.
- MSU Update - An MSU is a self-contained update format known as a 'Microsoft Update Standalone Installer'.
- Powershell Script - Run a Powershell script.
- Prism Package Install - A package created to deploy software where an MSI is not available.
- Prism Package Uninstall - A command used to uninstall a deployed Prism Package.
Edit Package Types in the Settings menu can be used to add new, or amend the default package types.
Pending Package Tasks
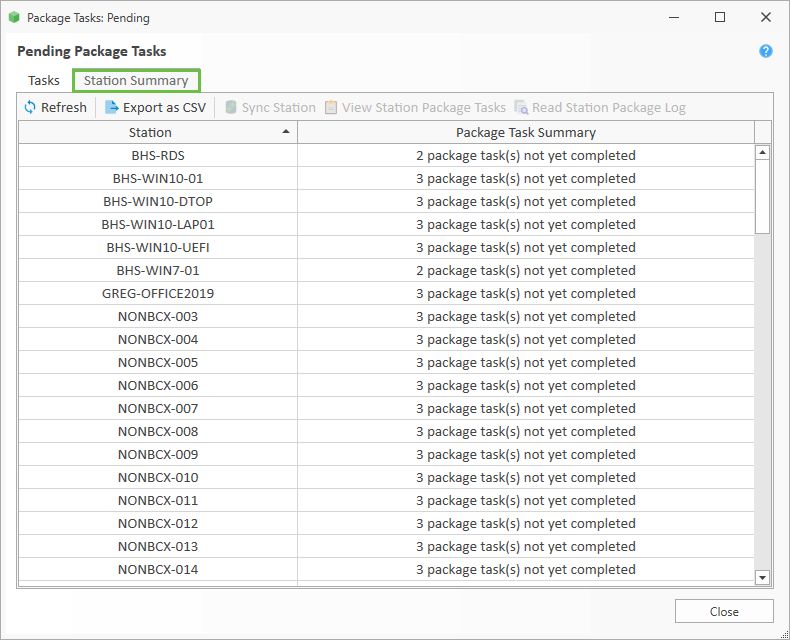
Selecting Pending Package Tasks from the Ribbon will display a table of the tasks not reported as completed.
There are seperate tabs for: Tasks.
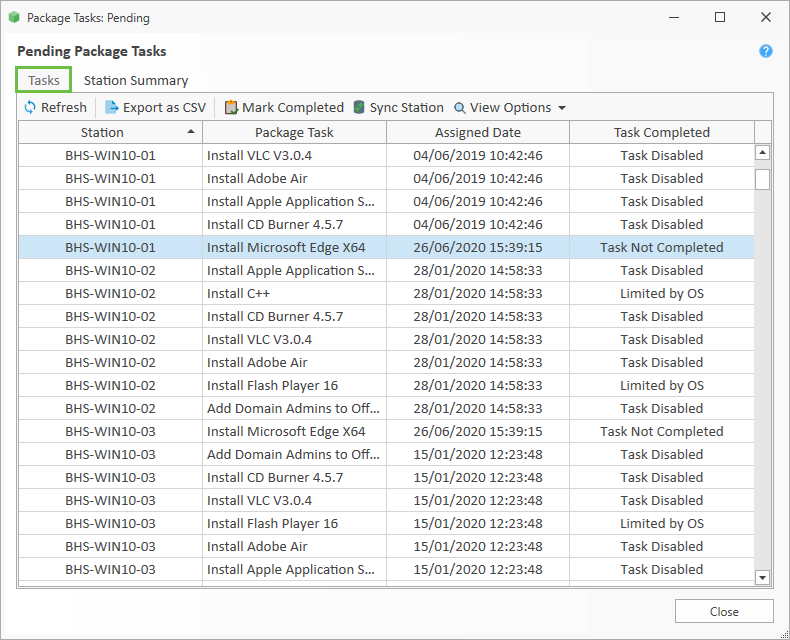
And: Station Summary.
Unexpected Exit Codes
To view a list of packages that are generating an unexpected exit code, select Unexpected Exit Codes from the Ribbon
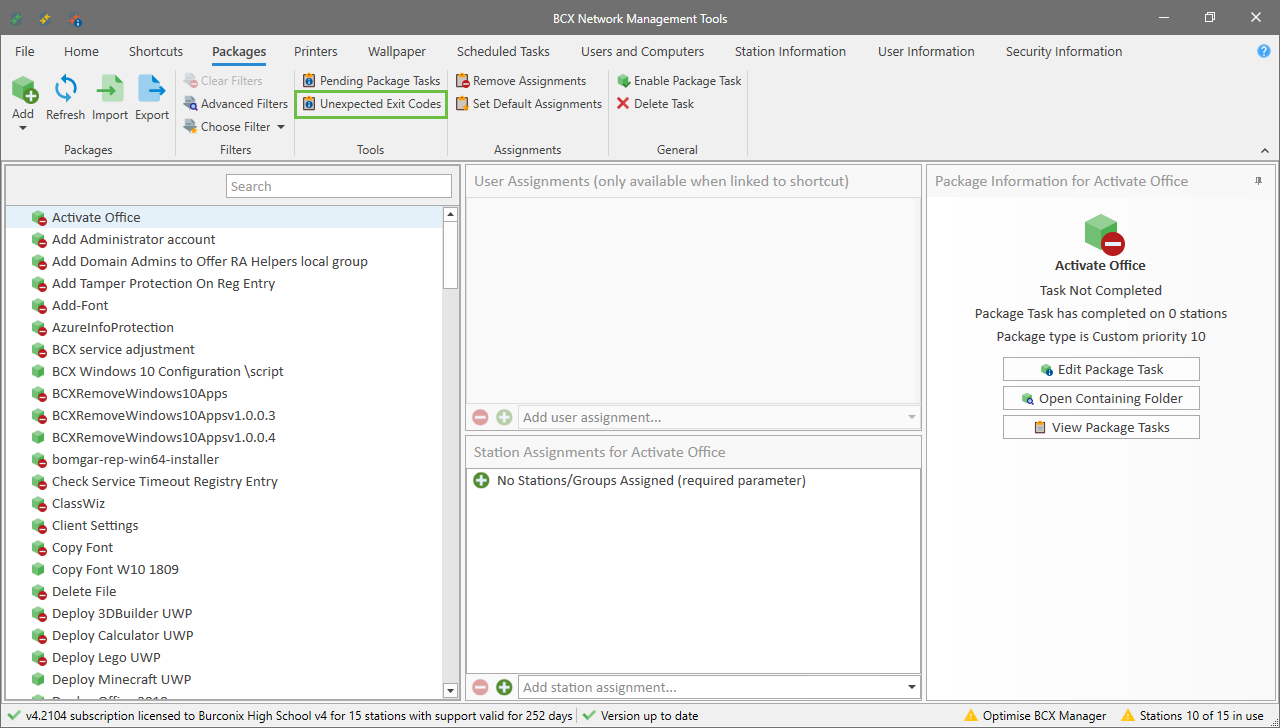
Here we see a report of any tasks that have run, but generated an unexpected exit code, with a right click option to assist in dealing with them.

Updating a Package File
Updating a file for a package task is easy. Any package task that is an MSI or Prism package can be updated.
Right click the package task you wish to modify, and select the 'Update Package Setup File' option. This will let you browse and select a new file to use in the task.
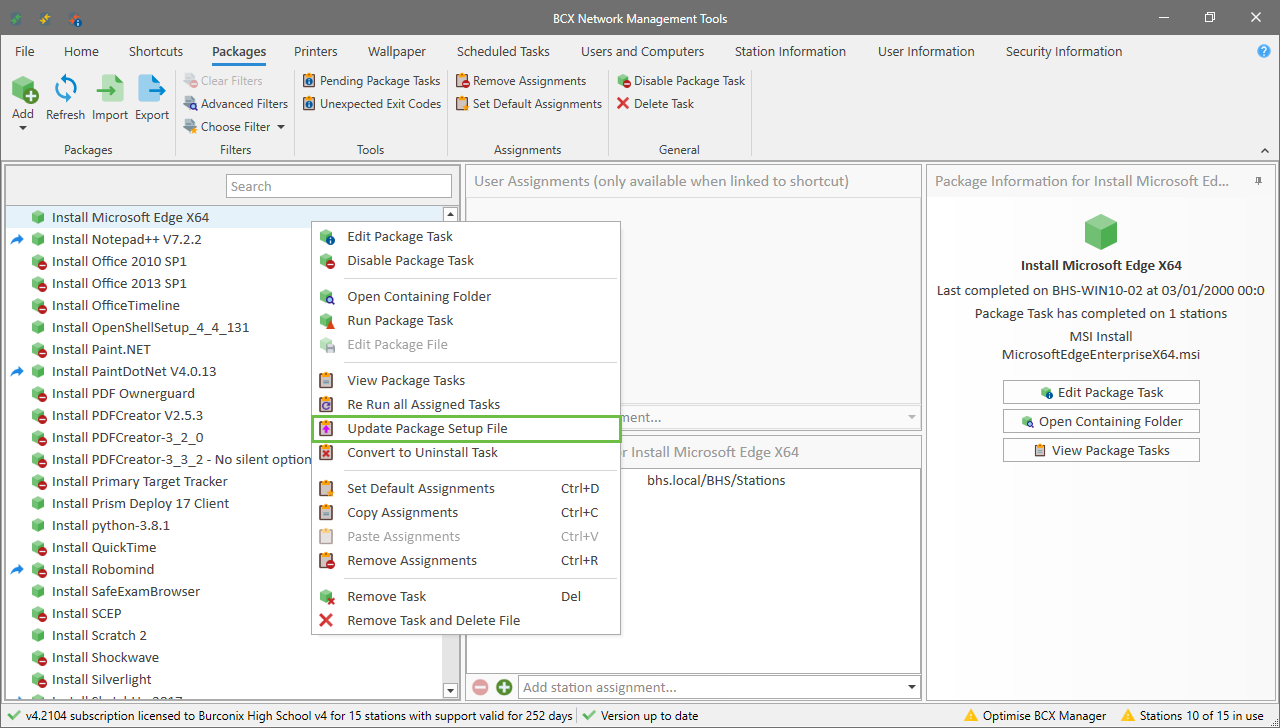
You can then rerun the package task to update existing machines, or it will be used in all subsequent assignments.
Custom types will have to be edited manually from within the task.
Uninstalling deployed Package Tasks
To uninstall a package you need to tell BCX that you want this to happen. Removing the package task doesn't do this for you.
For MSI installs and Prism packages right click and choose the option to convert to an uninstall task.
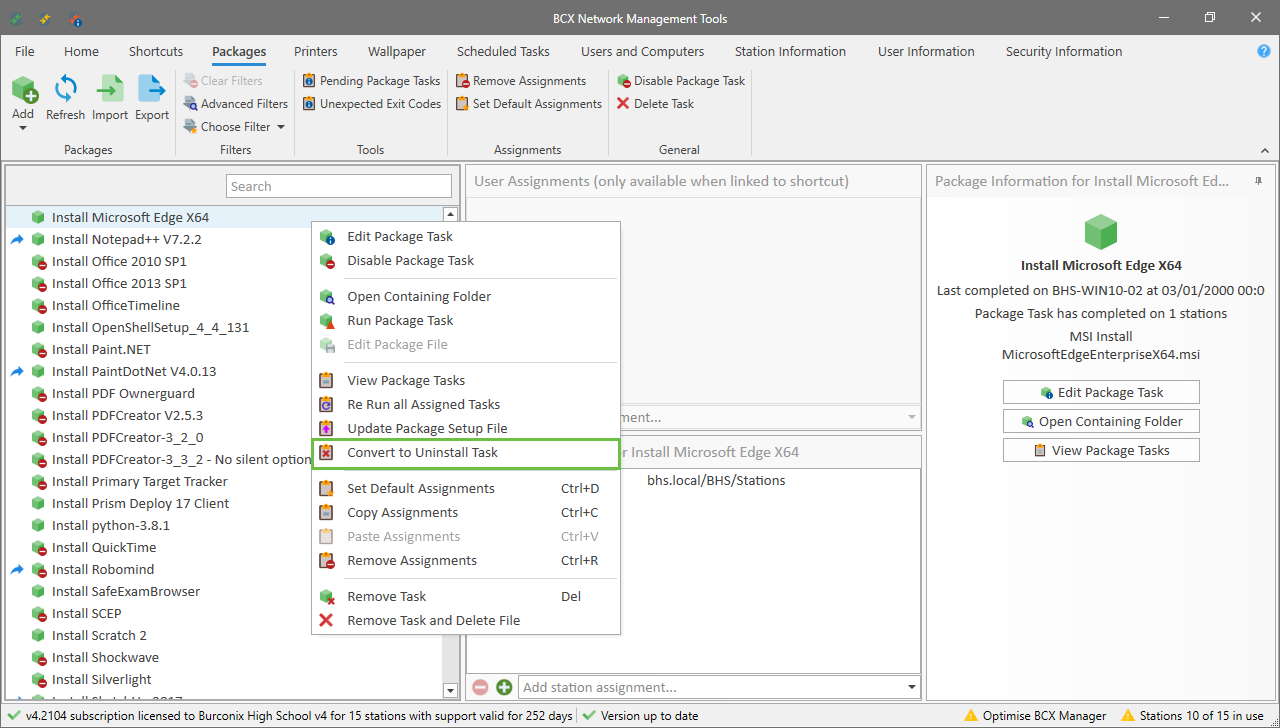
This will then ask you if you want to convert and rerun on all of the stations its assigned to.
Once the package task has completed on all stations, you can then remove the task.
Custom types will have to be done with a custom command line or script.
Removing a Package Task
Removing package tasks is a simple process. Select the package you wish to remove. right click, and choose the Remove Task option.
MSI and Prism Package Tasks also include an option to delete the installation file.
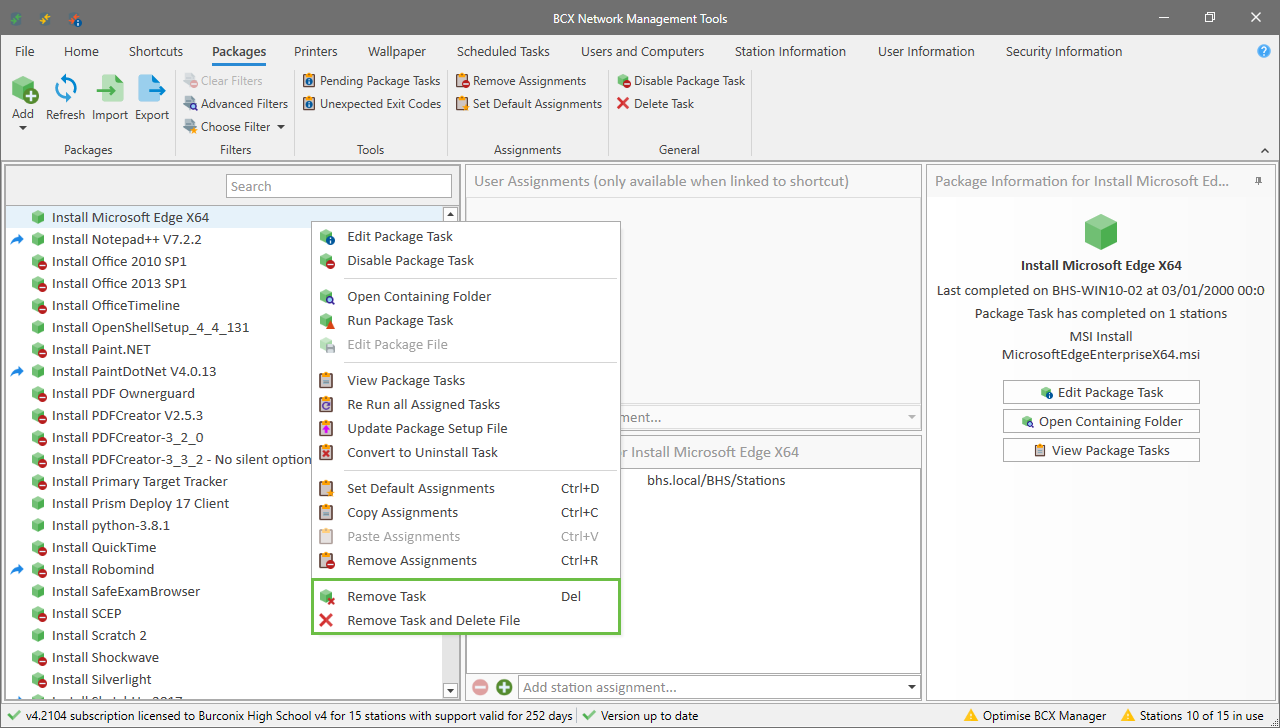
Removing a task will prevent it being redeployed to workstations in the future. However, it will not remove the package from the workstations it is currently assigned to.
To do this, please see Uninstalling deployed Package Tasks.
Importing and Exporting Package Tasks
From the Ribbon, choose Package Data, then Import or Export.
This is especially useful if you are an academy with multiple BCX instances wanting to standardise packages across your schools.
Creating a Package Task with Prism Deploy
The Prism Deploy software uses snaphot technology to create a package for deployment.
It creates a baseline for the workstation then after your required software is installed, compares the workstation to the baseline to create a package of the changes for deployment.
Prism requires a relatively clean workstation, that has never had the software you intend to deploy installed on it previously.
Download any software you will need to run before continuing.
On opening, Prism deploy presents you with the Prism deploy Package Expert wizard.
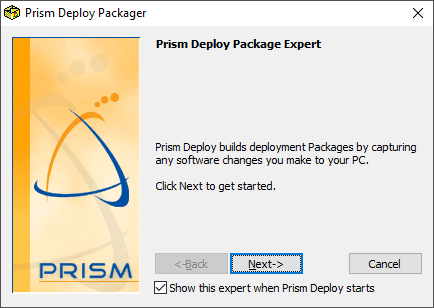
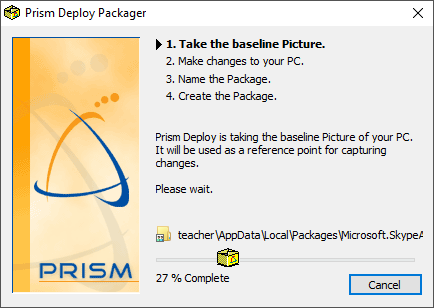
Click next to begin and take the baseline image of the workstation.
This can take a 5-10 minutes to complete depending on how much data is on the local disk.
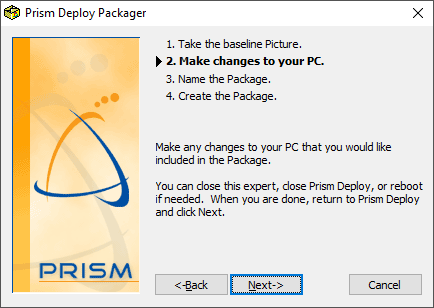
Once the baseline has been taken, you will be asked to install your software.
Install and configure your software exactly how you would like the end-user to use it.
When you are happy that it is ready click next to continue.
A Windows File Explorer save window will open to allow you to Name and select a save location for the package.
This is usually your BCX Packages Directory \\servername\Packages$\Prism\filename.pwc
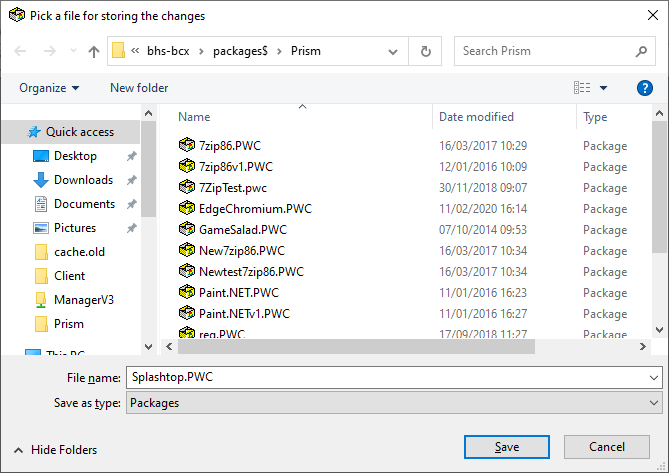
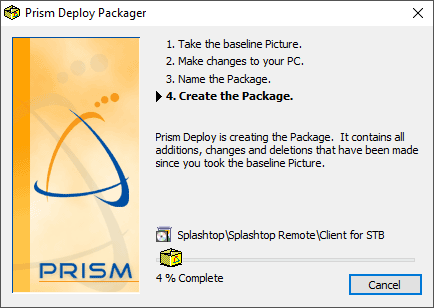
When you click save, the package is created, it may take several minutes for the process to complete.
You will then be presented with an editing view of the changes that are included in the package.
You can browse the package like you would in a Windows Explorer window. Deleting any files or changes you don't want, or adding them as appropriate.
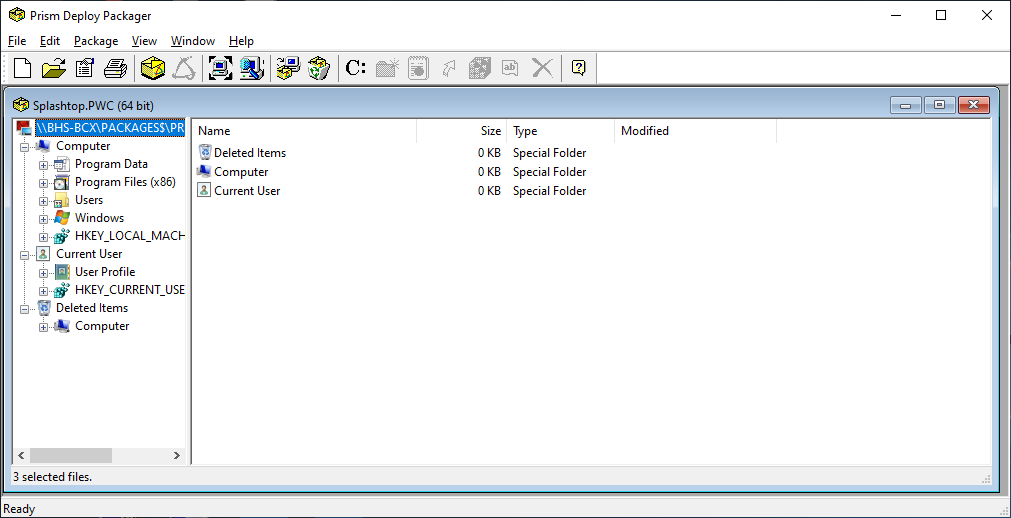
When happy with your package, close the editing window, and it is ready to deploy from BCXManager as a Prism Package Task.
Troubleshooting Deployment of Package Tasks
You can troubleshoot package task problems from within BCX Manager.
Under Station Information, find the station that is having trouble installing a particular package. Right click it and click 'View Package Tasks for Station(s)'
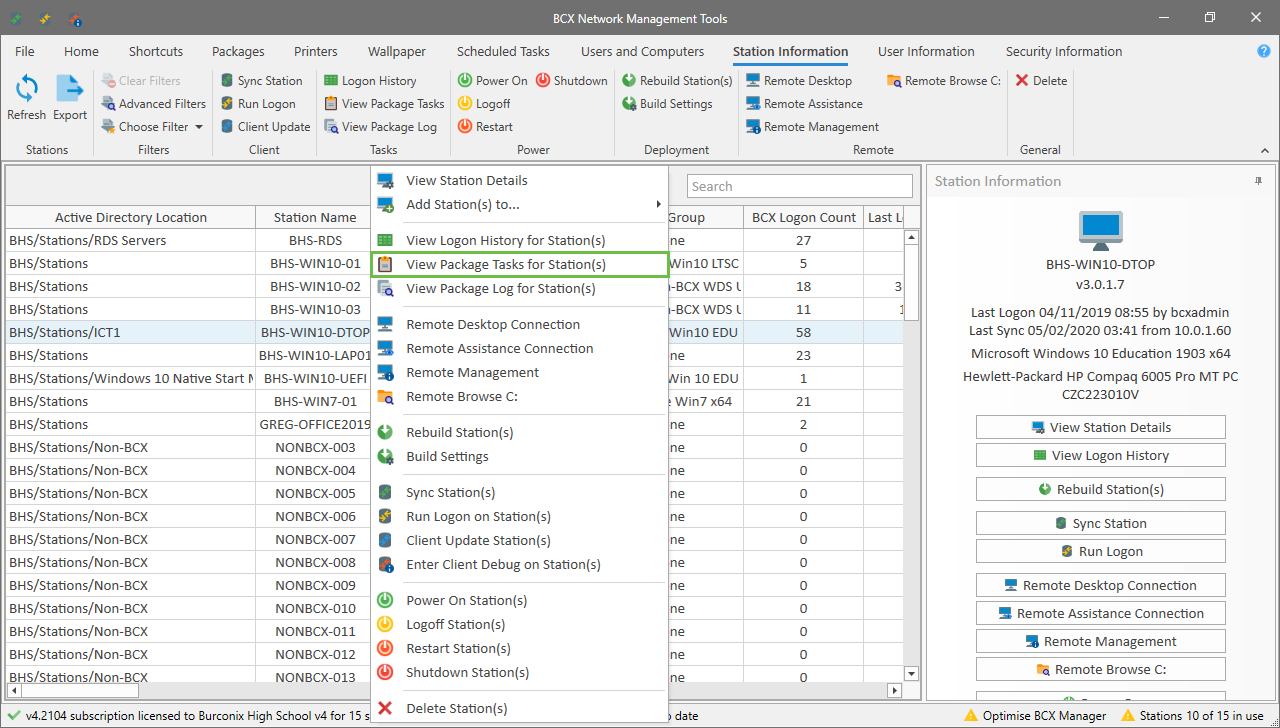
This will show a list of completed and outstanding packages that are yet to be installed.
If a package is missing from this list you can force a Station Sync using the Station Sync button. This tells the computer to update with the server to check for new packages.
The last tab in the window is for Package Logs. Clicking this will make BCX manager retrieve a log from the station that contains in depth details about deployment.
This will include exit codes and any errors that come up. One of the most common errors is when outstanding windows updates are due to be installed, and the installer fails to continue. Restarting the workstation will fix this.
Return to Contents page