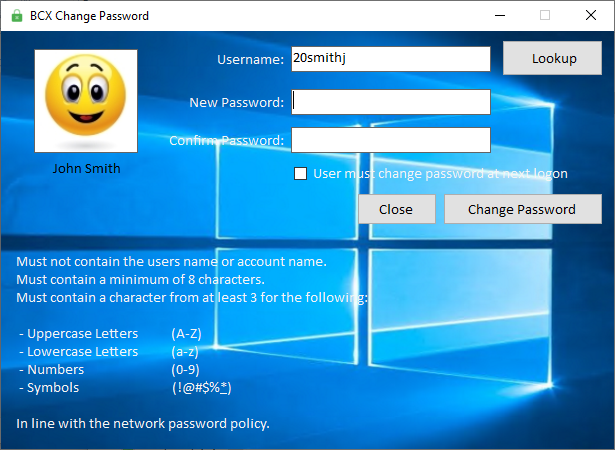
BCX Change Password
This [free application] provides the facility to allow non-admin users to change the passwords of other users, for example, allowing teaching staff to change students passwords.
Once configured correctly, it is as simple as typing in the username, and then entering a new password.
Contents
Installation Instructions
Please note this tool and these instructions are provided free of charge. They are provided “as is” and come with no warranty, guarantee or support. Burconix Ltd accepts no liability for any damage caused to your network as a result of installing or using this tool.
Create a new folder and extract the download to a shared area on your network, for example: '\\Server\Apps\BCXChangePassword'
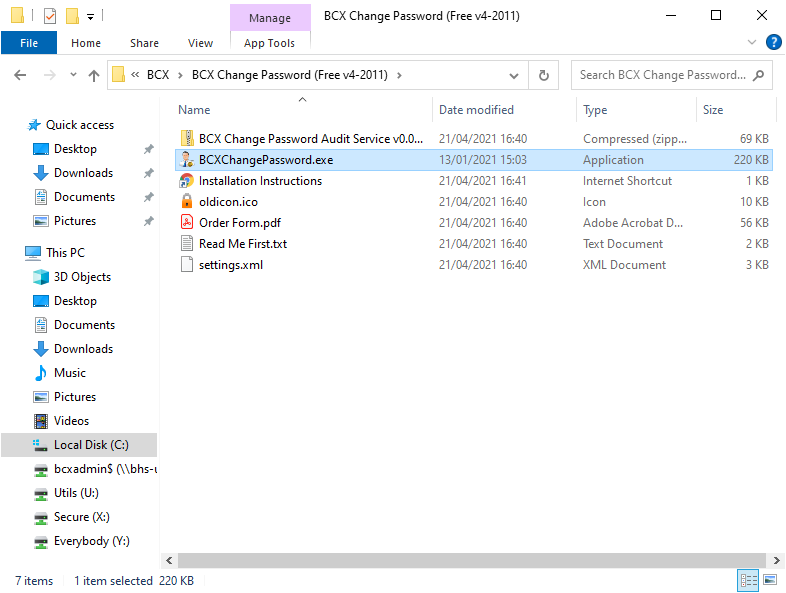
When you open the BCX Change Password utility, a security warning may be displayed.
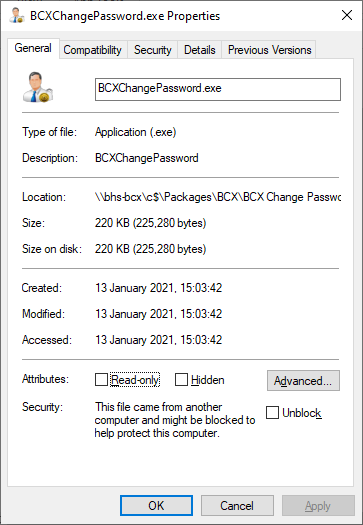
To unblock the application; right click the BCXChangePassword.exe file, select “Properties”, under the “General” tab towards the bottom will be a security warning along with a button marked “Unblock”. Click this and then click OK, the security warning should no longer be displayed.
By default Domain Admins will have rights to change any user password.
However you might want to allow certain users to reset passwords for users in certain OU containers.
Delegate Rights for Users
In order to allow non-admin users to use the tool, we need to delegate rights for them. In the following example we will create a security group called 'Reset Student Passwords'. Anyone who is then a member of this group will be able to reset the passwords for the student users.
Note : you could skip the 'Reset Student Passwords' and use an existing 'Group' instead, but for more control we would recommend creating a separate group, and then adding the required members
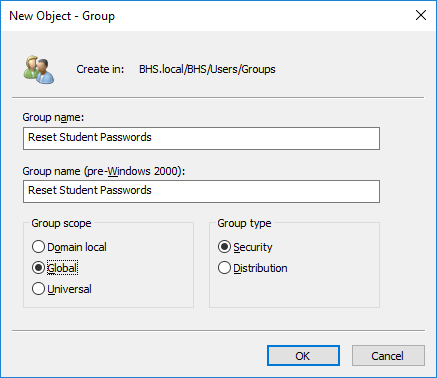
Logon to a domain controller or admin station and open 'Active Directory Users and Computers'. Right Click on your 'Groups' OU and Create a Security Group called 'Reset Student Passwords'
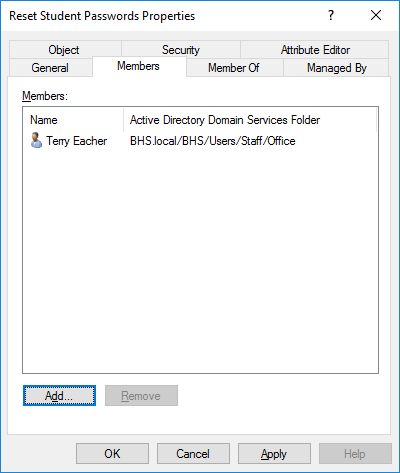
Add a user to this group who you want to be able to reset passwords.
Select your new group, right click properties. Click the Tab Members, and then Add to add users into the group.
Next we need to grant this group the permission to change Student Passwords.
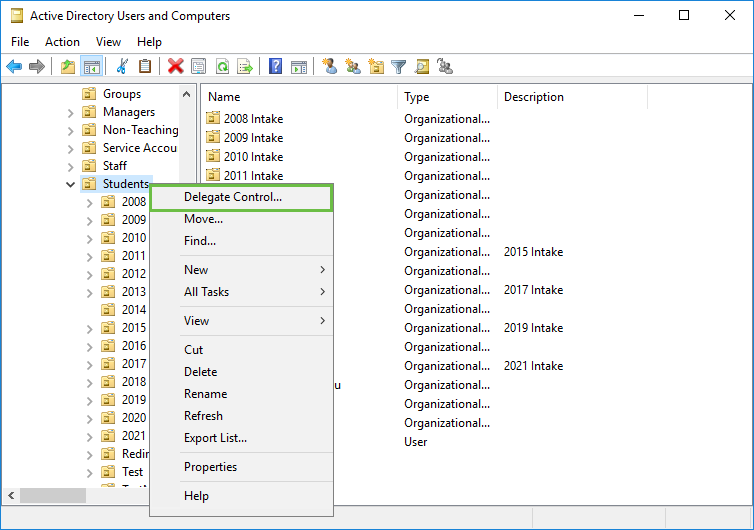
Navigate to your Student User Container/or OU and right click and select Delegate Control
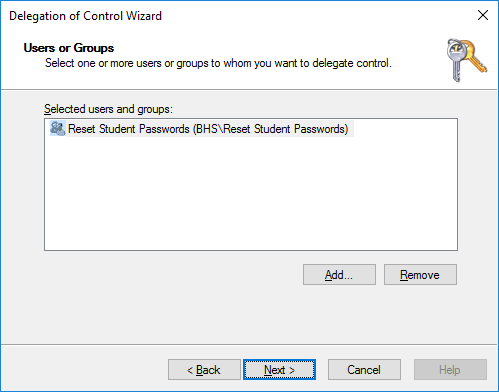
Next on the Wizard, add your “Reset Student Passwords” group and click next
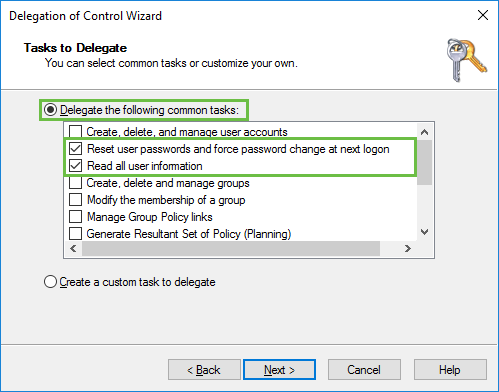
Check “Reset User Passwords and force password change on next logon”, Check "Read all User Properties" and click next.
If you are considering using the "Unlock Account" functionality (Requires additional license), now is a good time to delegate the rights for that also.
As previously start the delegate rights wizard for the required group, and then select “Create a custom task to delegate” press Next on the wizard.
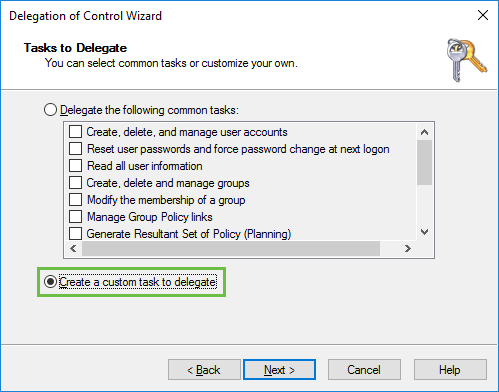 Image showing delegate control wizard custom task
Select “Only the following objects in the folder” and tick “User objects” and press Next
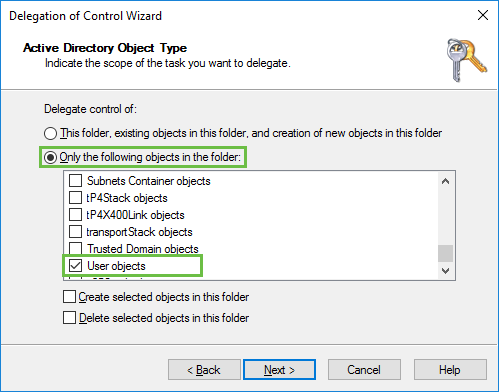 Image showing delegate control wizard only option
Remove the tick from “General” and tick “Property-specific”, then scroll down and tick “Read lockout” and “Write lockout Time”, then press Next on the wizard
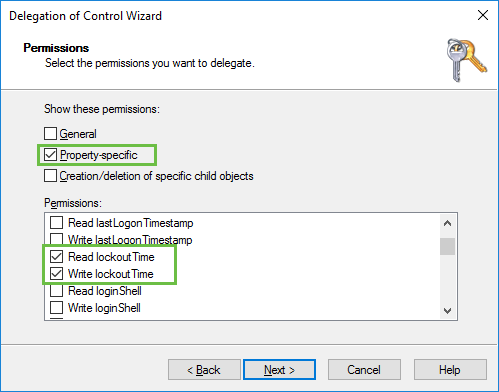 Image showing delegate control wizard property specific
Confirm settings and press Finish
The advanced "Unlock Account" function instructions are found here.
Cofiguring Tool Settings
From the folder you extracted the download to, open the settings.xml in notepad and configure the following settings as desired:
AllowBlankPW – true or false – Allows a user to set a blank password (clear password)
AllowUserMustChangeOnLogon – true or false – Allows a user to check the user must change password on next logon box
AutoComplete – true or false – Autocomplete the username as the user starts to type
AllowLookup – true or false – Displays the Lookup button to search for username by surname, forename
ConfirmDisplayName – true or false – Gets the display name from the user object and asks user to confirm it is correct, before completing the password change. (E.g. where username is number)
AutoCompleteLDAPPath – RootDomain or LDAP Path – If configured sets the auto complete to only autocomplete usernames from a specific root OU, e.g. Students, and example would be LDAP://OU=Students,OU=Users,OU=Curric,DC=domain,DC=local
ForceDNSDomain – Default or DNSDomain – If set to domain.local it forces the tool to use that domain in a multi-domain environment. If Default, it will use the default domain detected.
ForceUserMustChangeOnLogon – true or false – If set to false, the "user must change password at next logon" tick-box is unchecked and may be checked. If set to true, the tick-box is checked by default and cannot be unchecked.
ForcePreDefinedPassword – Set a default password which will be pre-entered on opening the tool, and cannot be overwritten.
Save the settings.xml file
If you require alternative settings for different users, you can create multiple .xml’s containing your required settings, and reference them from the shortcut using the customxml switch as below.
BCXChangePassword.exe customxml students.xml
Deploy the Tool
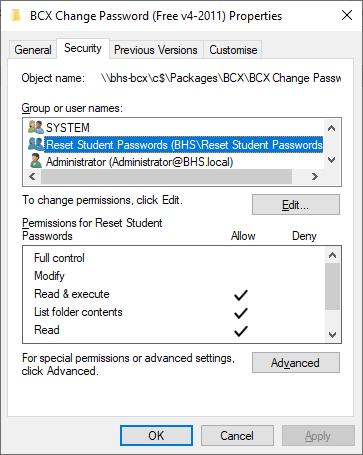
Before you Deploy the Tool, check that your users have access to run the exe from your extract location. Go to '\\Server\Apps\BCXChangePassword', right click on the directory, Properties and click Security. “Reset Student Passwords” need Read and Execute, then inherited System and Administrators Full Control.
Note that standard users should not have modify/delete access to this location as they could modify the settings we have just configured. Click Edit to change permissions.
Now make a shortcut available to your users either on the desktop/start menu.
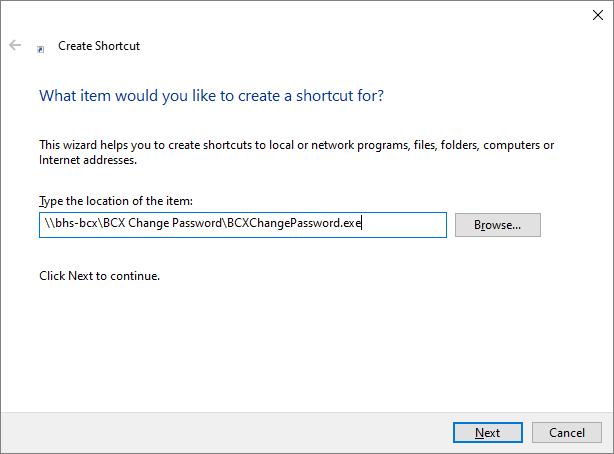
Or alternately create a shortcut from a shared area.
Shortcut to: \\server\Apps\BCXChangePassword\BCXChangePassword.exe
Installation Complete
Additional Features
The additional features below require a paid for Licence to unlock
Password Audit
Note – These instructions assume that the BCX Change Password Tool is installed and working on your system.
This program generates an audit log of the usage of the BCX Change Password Tool, and can be installed on any member server (2003/2003R2/2008/2008R2/2012) in the domain. We recommend using the server that BCX Change Password is installed on.
Please note if you use the Window’s firewall on the server please enable inbound traffic on port 9054 on all profiles.
Within C:\Program Files\ create a BCX folder (if it doesn’t already exist) and within that create a folder called ChangePasswordAudit. Please use the same folder path for 32 bit or 64 bit operating systems.
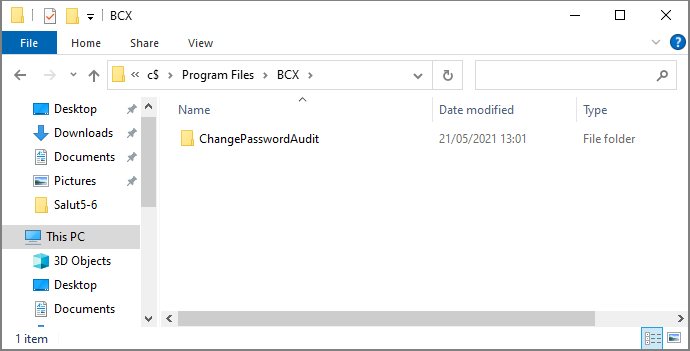
So the path of this folder is C:\Program Files\BCX\ChangePasswordAudit\ Into this folder copy all the files from the zip file.
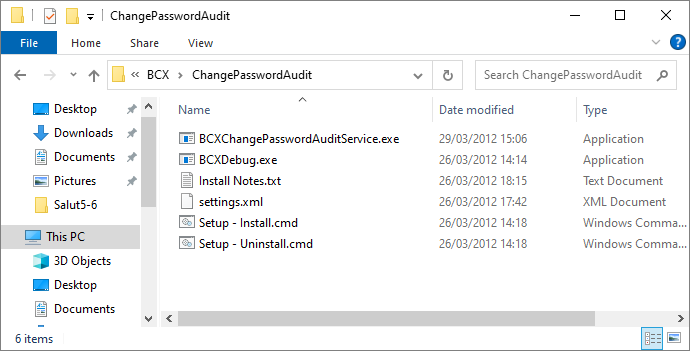
In the folder C:\Program Files\BCX\ChangePasswordAudit,
Run the Setup – Install.cmd (you may receive a security warning, press run).
At the prompt press any key. On completion the following lines should now be displayed.
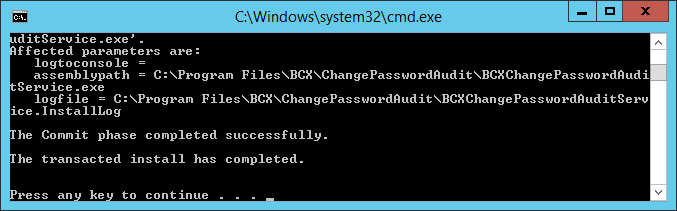
Pressing any key will close the window. When prompted click Yes to start the service in debug mode.
The debug window will display a few lines of text as the service starts up, the word “Ready” should be displayed at the bottom.
This window can now be closed, press Yes when prompted to restart the service in Normal mode to complete the install.
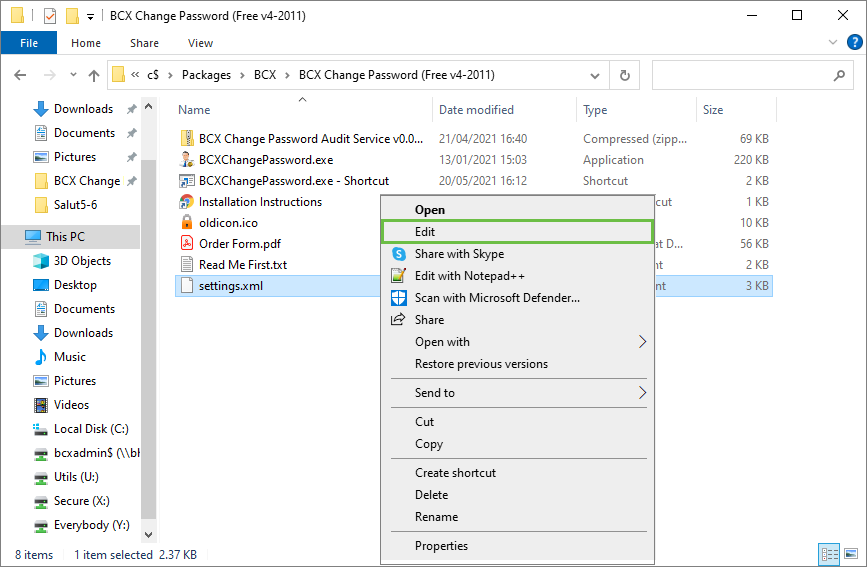
To configure BCX Change Password Audit, open the location of the BCXChangePassword.exe, (This could be something like \\Server\Apps\BCXChangePassword\). Right Click the settings.xml file and choose Edit
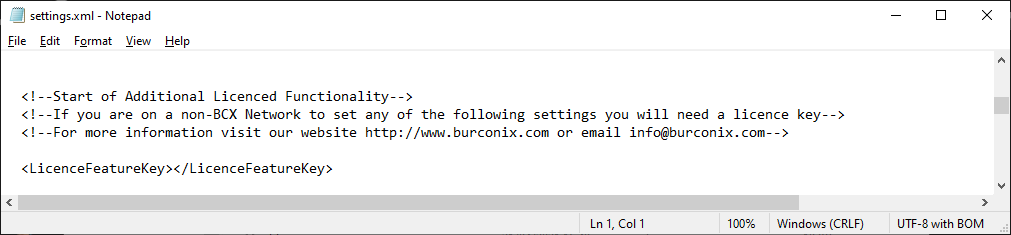
Scroll down through the file until you find the following lines: - In here copy and paste your licence you received from Burconix Ltd.
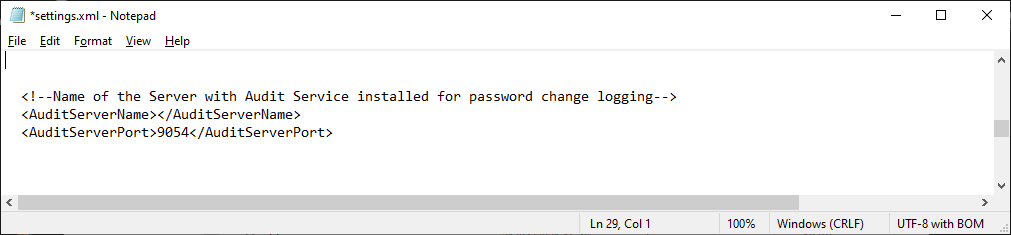
Next scroll down through the file until you find the following lines: - In here type the NetBIOS name of the server you installed the audit software on.
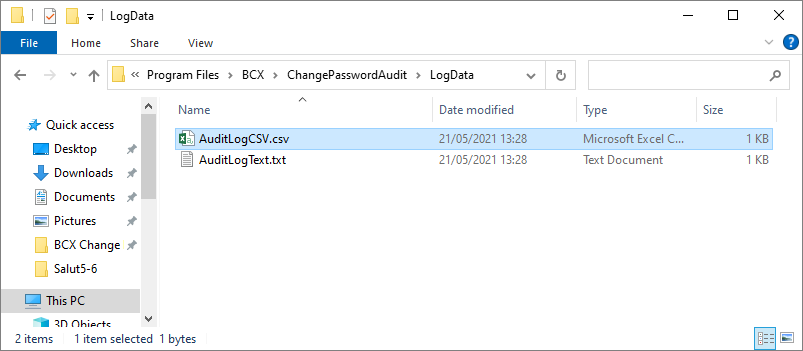
Once this is done all logs will be stored within the C:\Program Files\BCX\ChangePasswordAudit\LogData in both txt and csv format.
Unlock Account
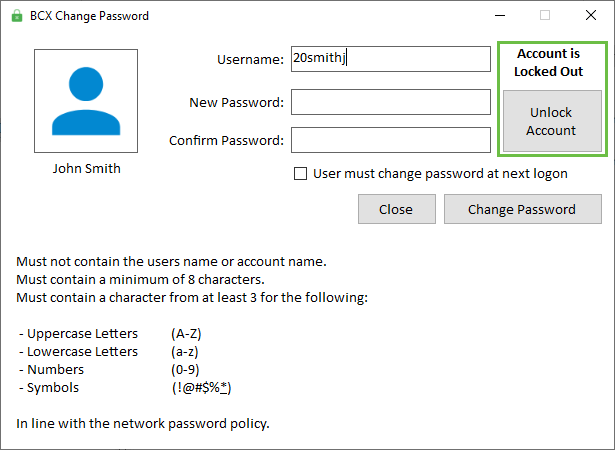
If an account is locked it will display the Unlock Account Button
To enable this feature edit the settings.xml file in the BCXChangePassword application folder.
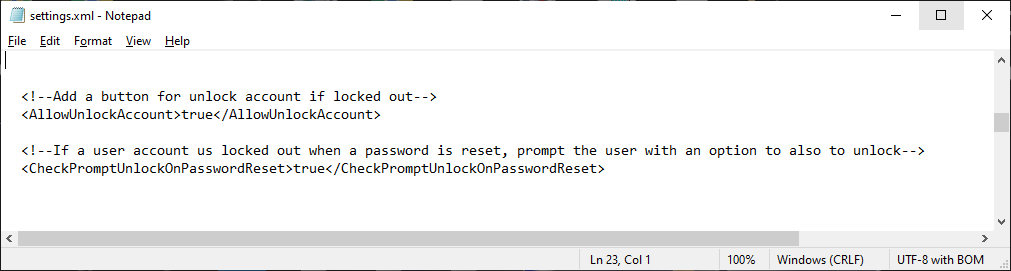
Scroll to the section with the line !—Add a button for unlock account if locked out--, and change values to the following
AllowUnlockAccount-true-/AllowUnlockAccount
CheckPromptUnlockOnPasswordReset-true-/CheckPromptUnlockOnPasswordReset
If an account is Locked Out due to a number of failed logon attempts,
a teacher can unlock the account for the student, by entering the student’s username and click “Unlock Account”.
To use this feature extra permissions must be delegated to allow teachers the ability to unlock user accounts.
You may have already configured this delegation at the same time as delegating rights to change a password.
On a Domain Controllers, or a computer with remote access tools installed, open the Active Directory Users and Computers. Right Click the Students OU and select “Delegate Control…”
On the wizard press Next, Add the Reset group you created to use the BCX Change Password Utility (Or staff group if you decided to use it).
Press Next, then select “Create a custom task to delegate” press Next on the wizard.
Select “Only the following objects in the folder” and tick “User objects” and press Next
Remove the tick from “General” and tick “Property-specific”, then scroll down and tick “Read lockout” and “Write lockout Time”, then press Next on the wizard
Confirm settings and press Finish
The unlock button will now be available for members of the Reset Student Passwords group.
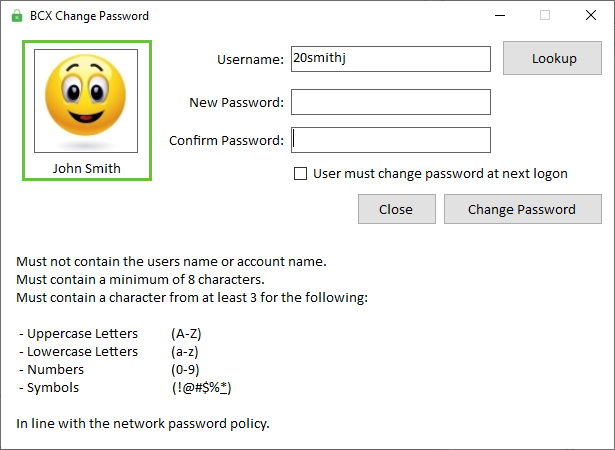
Password Complexity
This can be enabled to inform users when they change a password to one not conforming to your requirements.
Edit the settings.xml file in the BCXChangePassword application folder. Scroll down to the following area: PasswordRequirementValidation Enabled =”true” - Enter true to enable the feature or false to disable it.
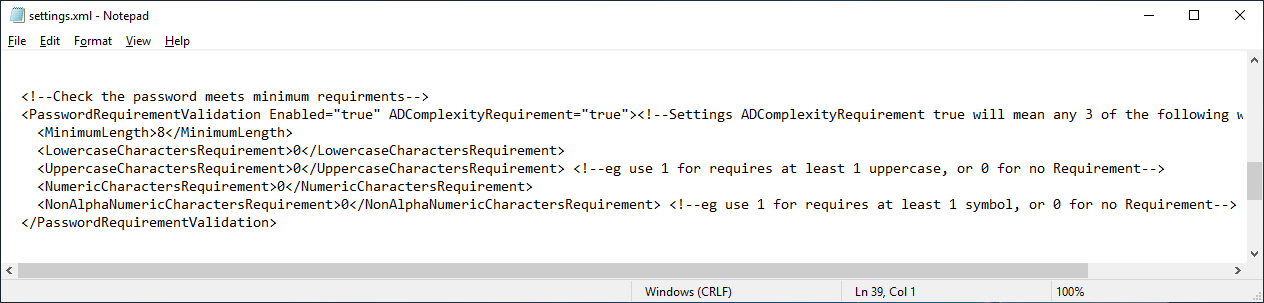
If you enable password validation, use the following settings to configure your complexity requirements.(as shown in above example)
MinimumLength - Specifies the passwords minimum character length. LowercaseCharacterRequirement - Specifies the minimum number of lower case characters in the password. UppercaseCharacterRequirement - Specifies the minimum number of upper case characters in the password. NumericCharactersRequirement - Specifies the minimum number of numerical characters in the password. NonAlphaNumericCharactersRequirement - Specifies the minimum number of non-alphanumeric (special) characters in the password.
These can be set to 0 to disable their requirement.
If you enable ADComplexityRequirment = true, this will just override the lowercase requirement numeric settings above, and instead just match AD policy for complex (which is at least one for the 3 other options).
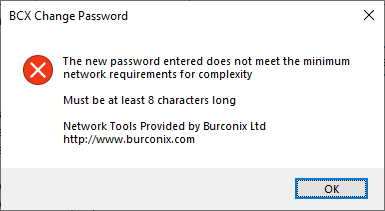
In the event a teacher enters a password that doesn’t meet the requirement then an error is displayed:
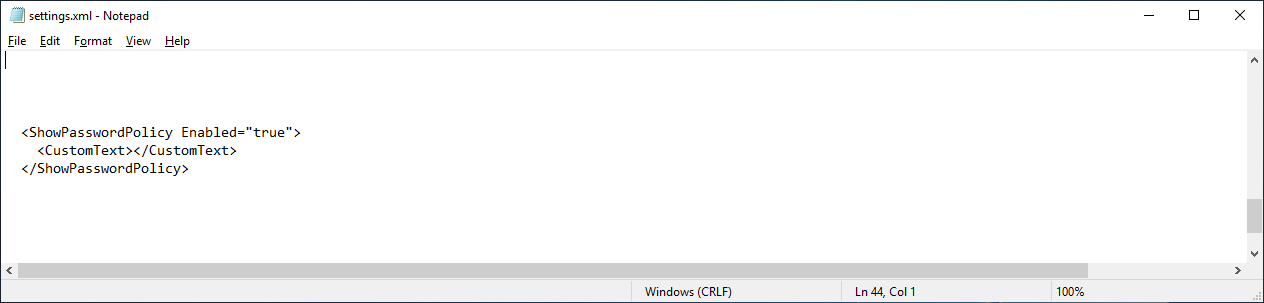
Show password policy, will auto generate a default one when true, supplementing the minimum length from your settings, or if you define custom text you can do what you like, but are limited to the 10 lines visible.
Custom Error Text
There are occasions where Active Directory will produce an “Exception has been thrown by the target of an invocation” error in response to a password change, which isn't much help to the end user.
You can replace this with a custom message by adding the following to the settings.xml, changing the example text to that of your choice.
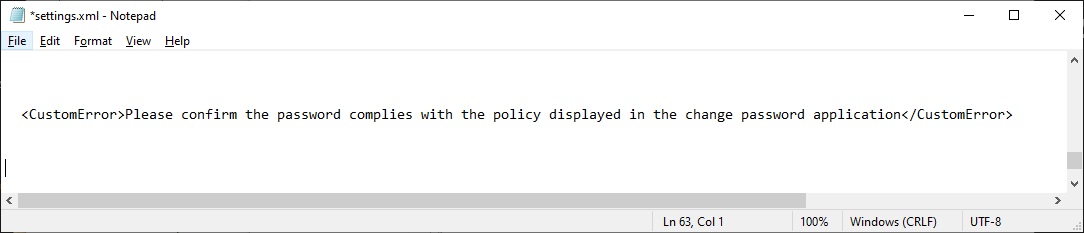
In the event of the “Exception has been thrown by the target of an invocation” error, this will be replaced with the text you have configured, seen in the example below:

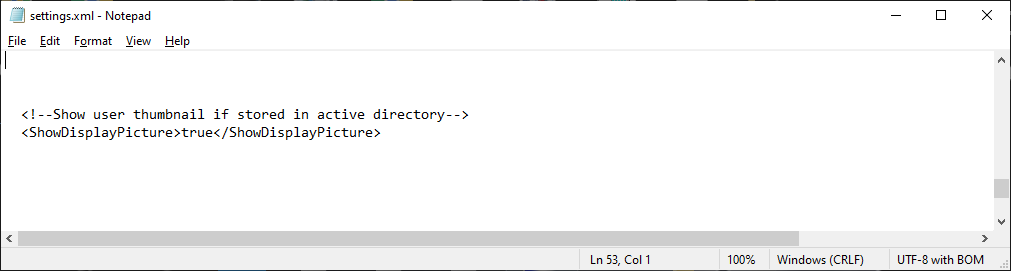
Show Account Picture
If you store account pictues in AD, You can enable the display of these in the tool.
Edit settings.xml file in the BCXChangePassword application folder. Scroll to the following area:
ShowDisplayPicture and set the attribute to "true"
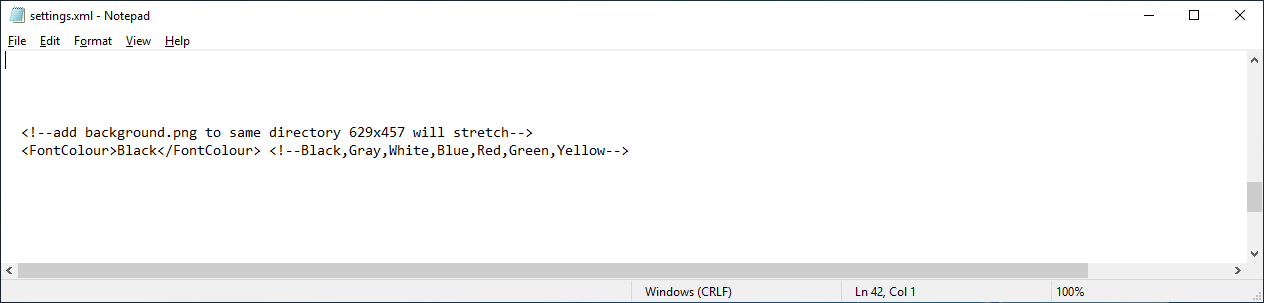
Personalise Tool
If you wish to personalise your copy of the tool, edit the settings.xml file in the BCXChangePassword application folder. Scroll to the following area: FontColour, and choose a text colour as shown below. You can also add your own background, save a 629x457 .png called background.png to the BCXChangePassword application folder.
For example, shown below, the Tool has been personalised with new background and white text.
Return to Contents page